Hi, Today i decided upgrade my VCSA 6.7 to 7.0. First, I need to verify that my VCSA version in my environment that it supports upgrading to 7.0 or not.
For this purpose, I check it from Product Interoperability Matrix that can help me to find out a lot of information.
Then I downloaded VCSA 7.0 iso and run the installer.
I choose Upgarde.

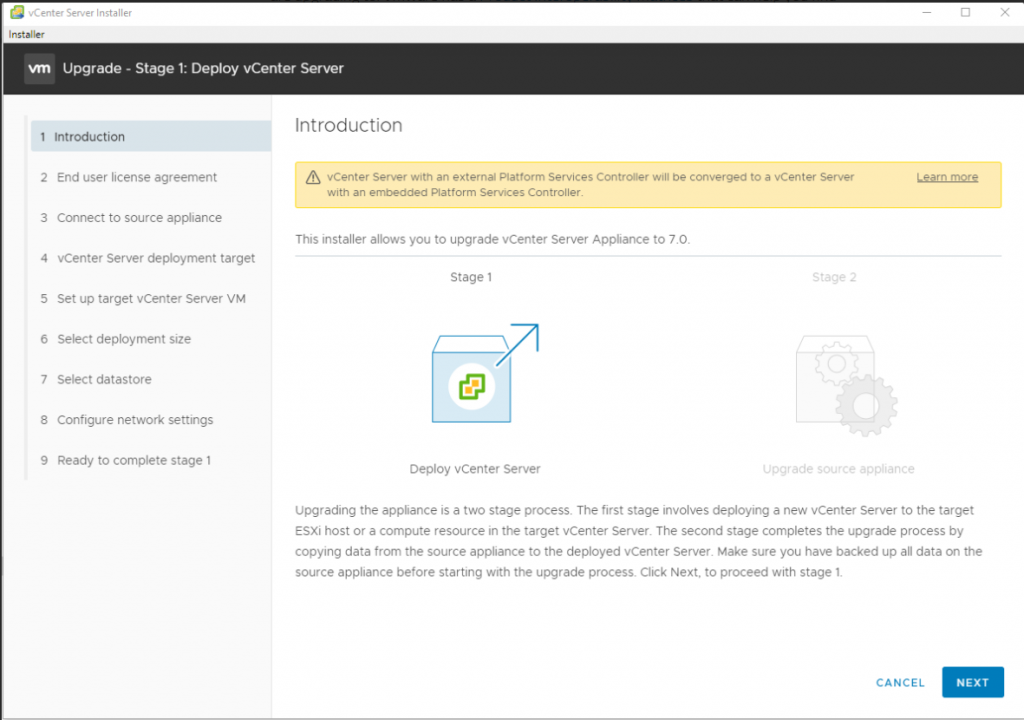
1- Genral information.
Upgrading the appliance is a two stage process. the first stage involves deploying a new vCenter Server to the target ESXi host or a compute resource in the target vCenter Server.
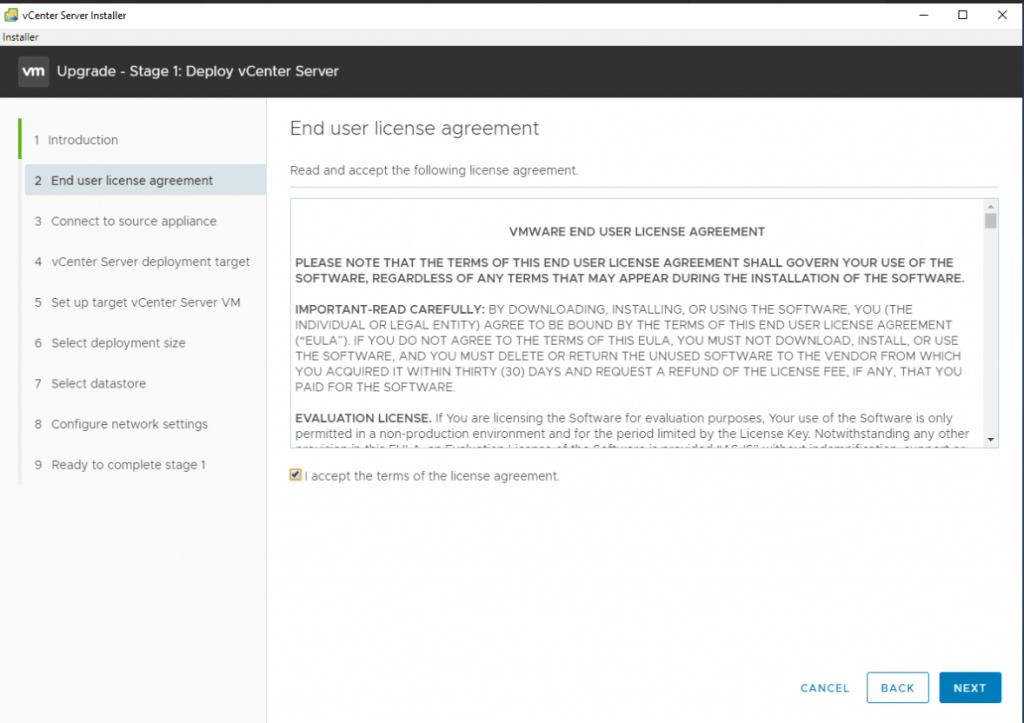
2- License agreement, Click on check box. Next
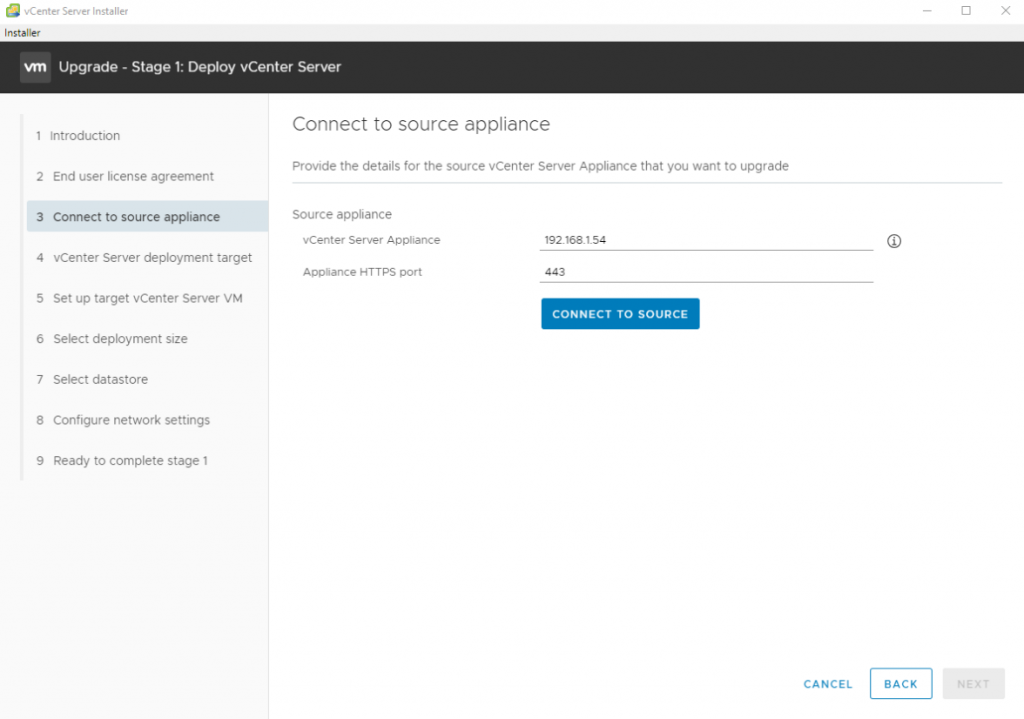
3- Enter source vCenter Serever IP and HTTPS port that you want upgrade and press the Connect to Source Button
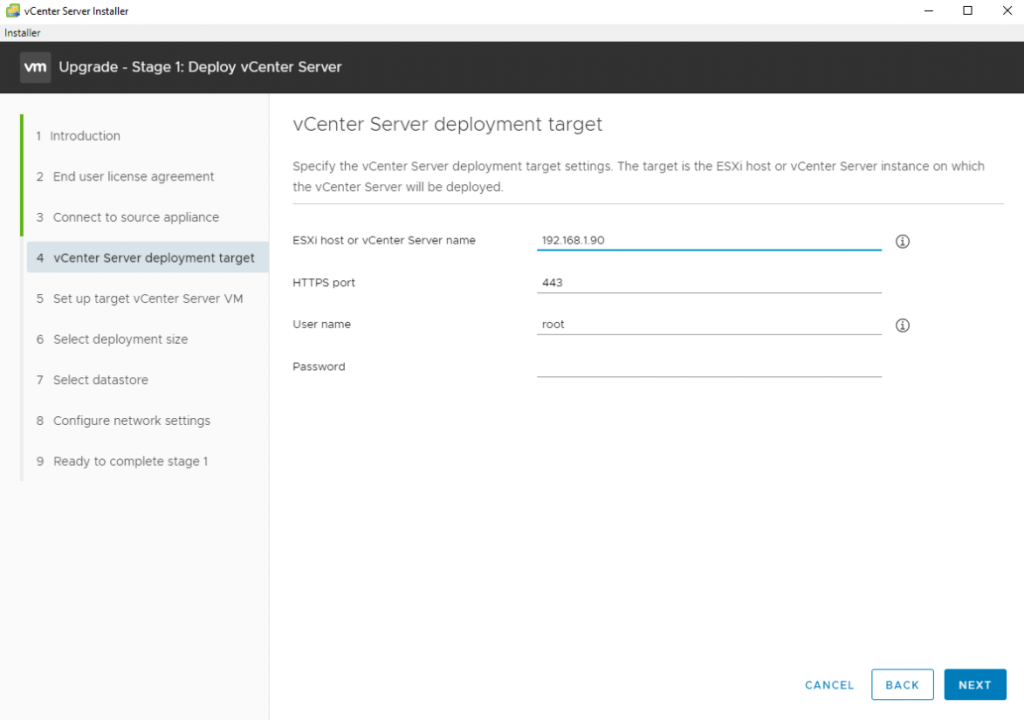
On this page, fill in all the blank fields, Next

4- This is where you will select the VCSA deployment target. You can choose a vCenter different from the one you are upgrading, or you can choose an ESXi host that is managed by the VCSA you are upgrading. Once selected, click NEXT
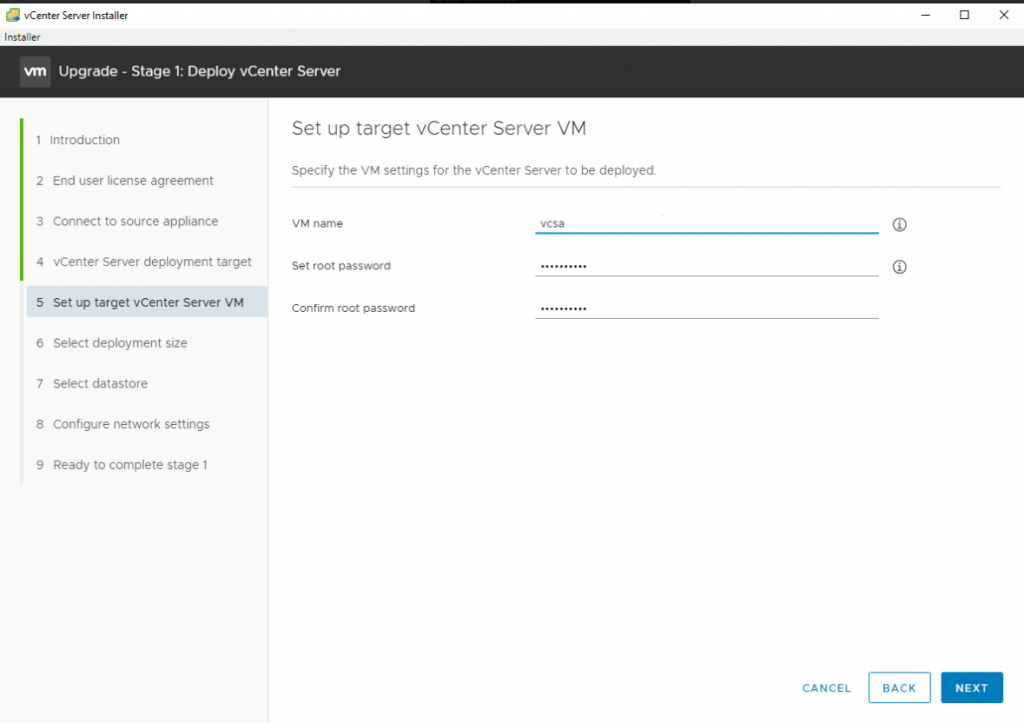
5- Enter the new VM name for your VCSA 7.0 and set the root password for it, NEXT
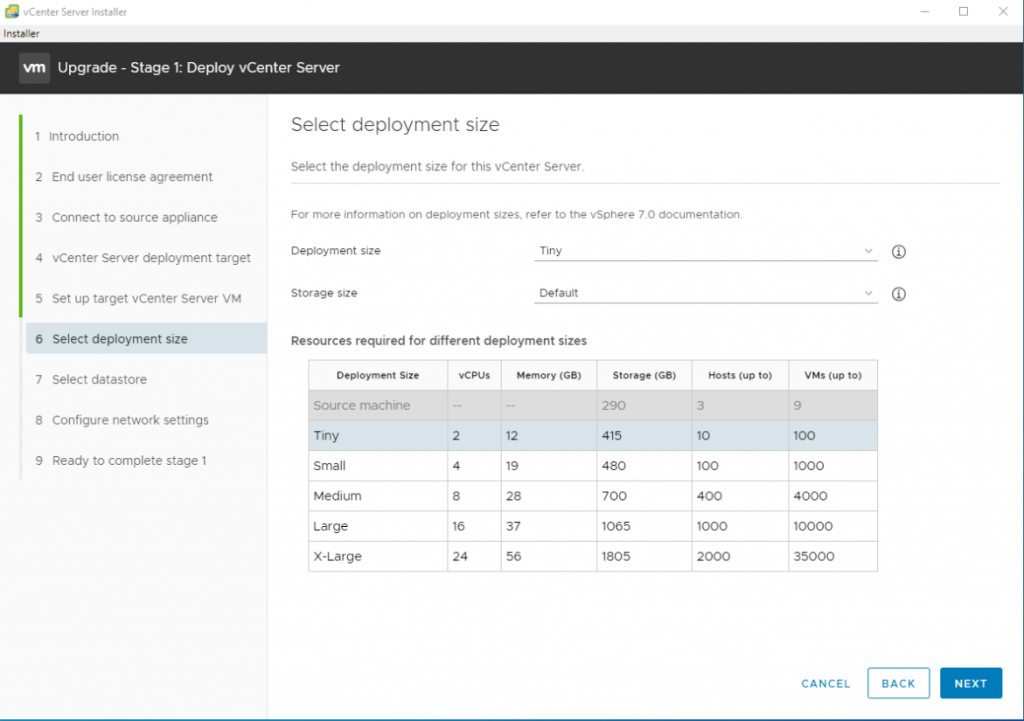
6- Select your deployment size, I choose Large. NEXT
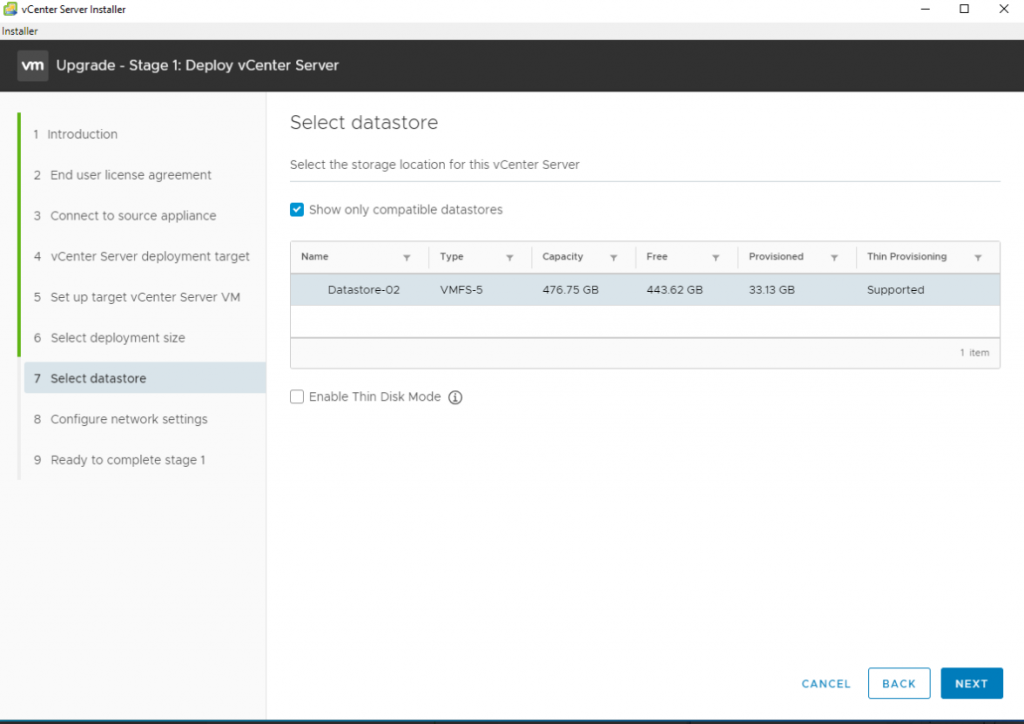
7- Select datastore, you can select Thin or Thick disk mode, NEXT
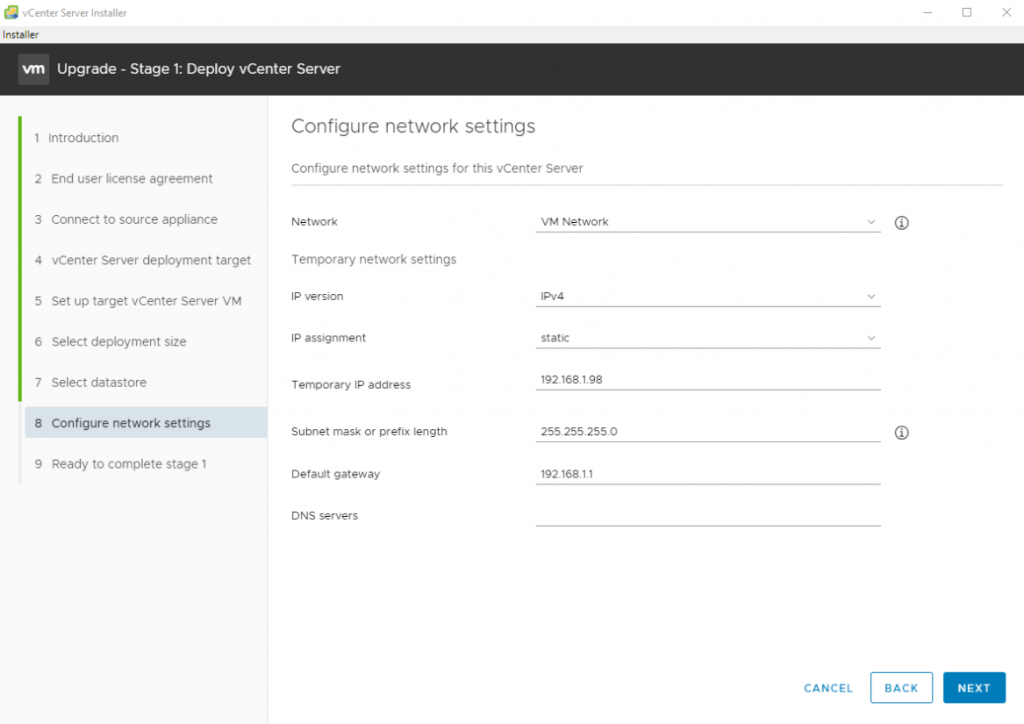
8- Configure your temprory network settings, NEXT
9- The installer will begin deploying the new VCSA according to the settings you provided.

10- Stage 1 of the deployment process is complete. Continue

1- The second stage completers the upgrade process by copying data from the source appliance to the deployed vCenter Server. NEXT

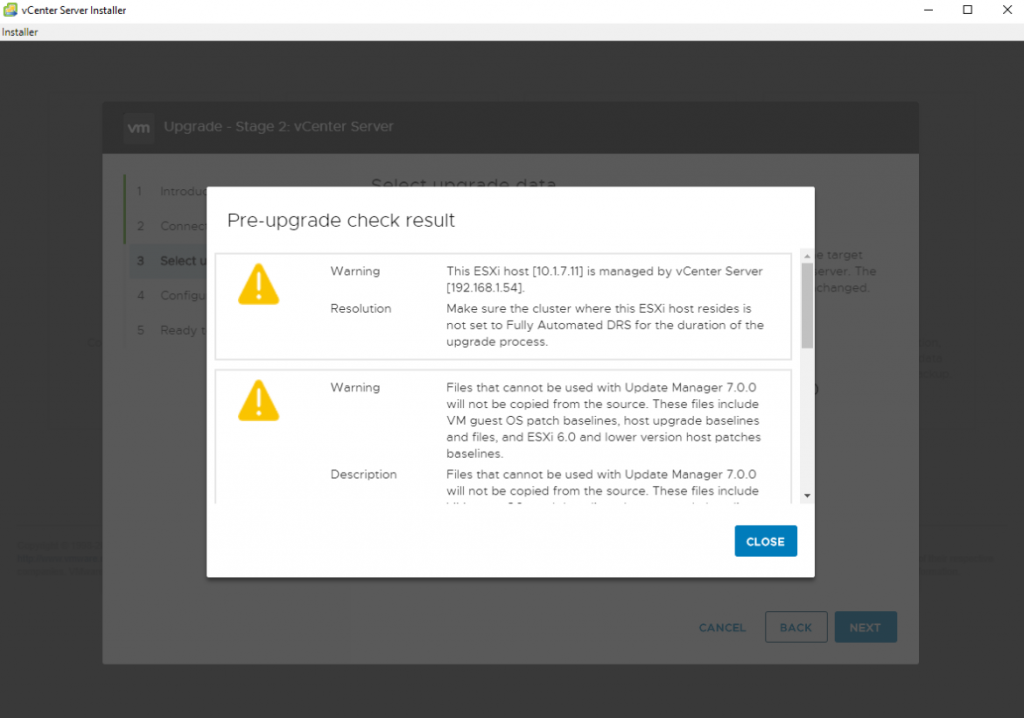
2- After the Pre-upgrade check is finished you will see warnings that you should look in to before you proceed.
3- Once you have fixed all the issues from the pre check or you accept the warnings shown you will need to select which data you want to migrate to the new VCSA. This is something that you have to make a decision on because it is based on what historical data you might want to keep.

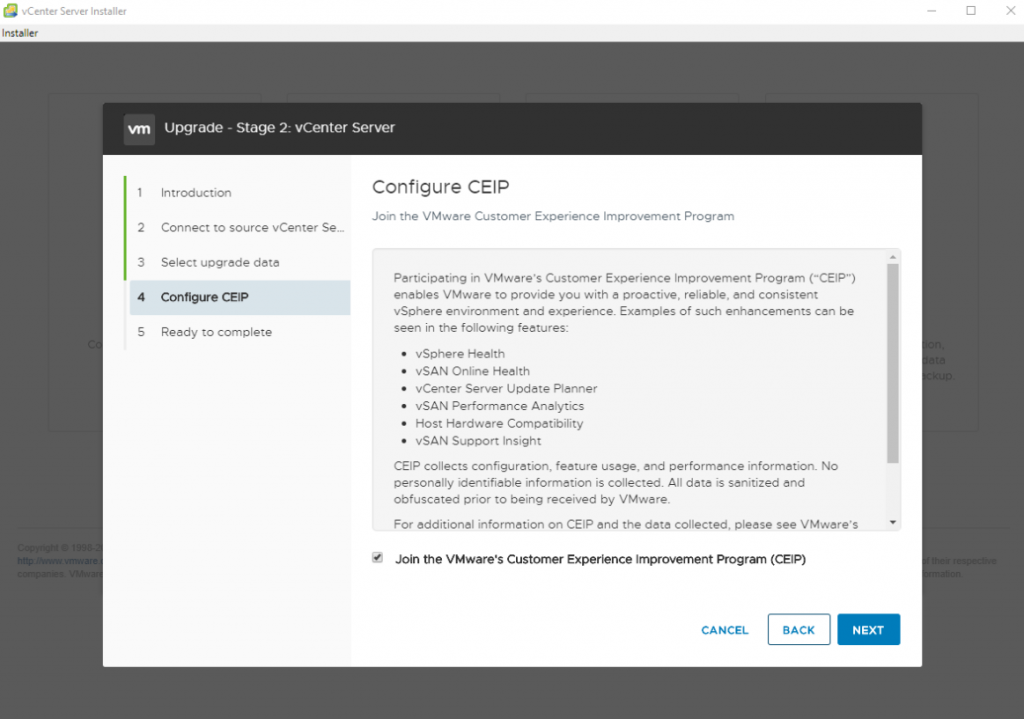
4- You can now join VMware Customer Experience Improvement Program. This basically allows VMware to collect certain sanitized data from your environment, which could help with future releases.
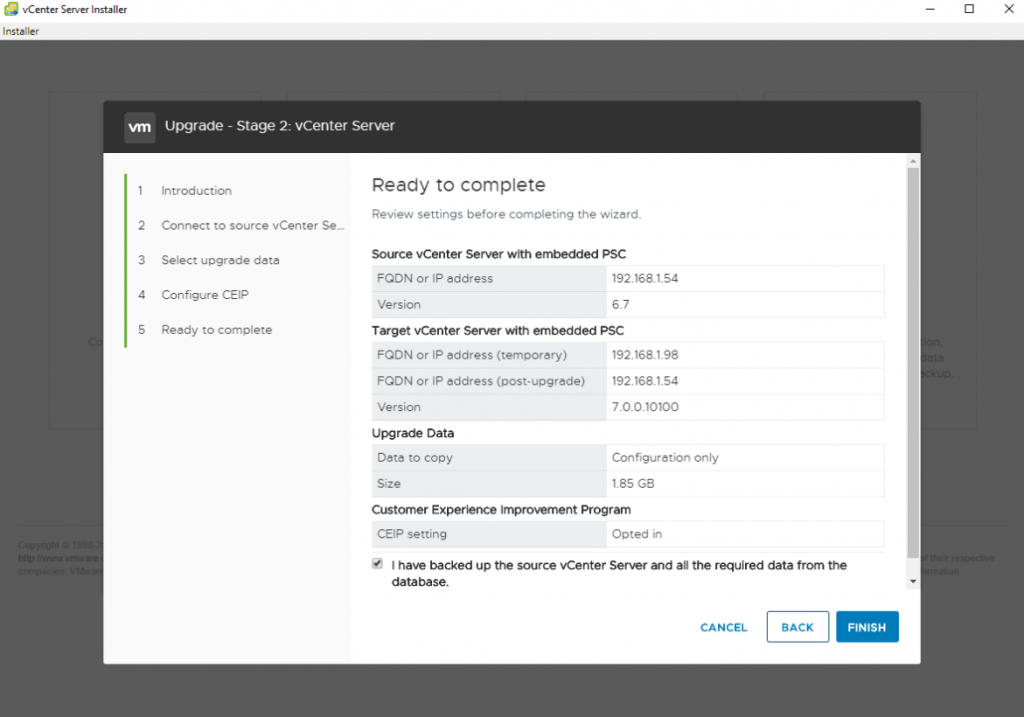
5- Verify the settings then check the box if you have backed up your VCSA, NEXT
6- Don’t be alarmed! This is just a warning letting you know once the upgrade is complete the original VCSA will be shut down and the newly deployed VCSA will take over the network configuration.

7- This process took about 45 minutes for me.

8- The upgrade is now complete 🙂
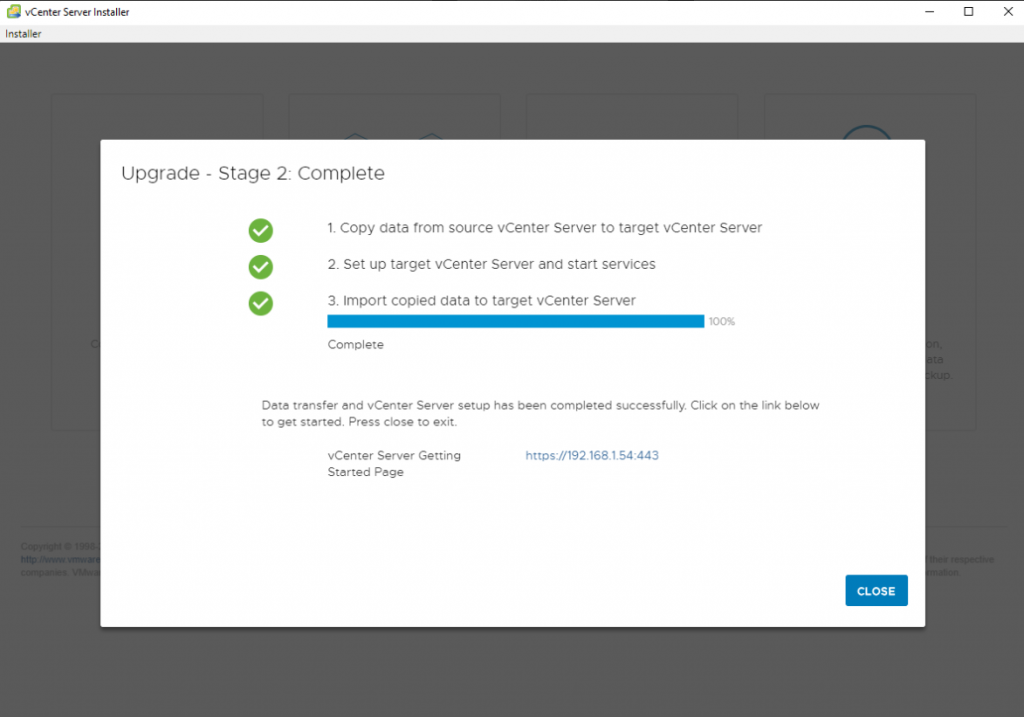
9- Login to the VCSA by the FQDN or IP address and proceed.

Finish 🙂