Hi, Today I want to set the ESXi host to join to the domain and I adjust Active Directory groups to log in to ESXi with domain’s account, through PowerShell.
1- Run PowerShell as Administrator
2- Install VMware powercli
Install-Module VMware.PowerCLI
3- Connect to vCenter
Connect-VIServer -Server "your Server FQDN or IP address" -user "your username"
Hi, I want to enable SNMP v3 manually on my ESXi 7.0.
In ESXi 5.1 and later releases, the SNMP agent adds support for version 3 of the SNMP protocol, offering increased security and improved functionality, including the ability to send informs.
As an alternative to configuring SNMP manually using esxcli commands, you can use host profiles to configure SNMP for an ESXi host.
By default, the embedded SNMP agent listens on UDP port 161 for polling requests from management systems. You can use the esxcli system snmp set command with the –port option to configure an alternative port. To avoid conflicting with other services, use a UDP port that is not defined in /etc/services.
Procedure
1- (Optional) If you want to change the default port, you could use this command:
esxcli system snmp set --port port
2- Every SNMP v3 agent has an engine ID which serves as a unique identifier for the agent. The engine ID is used with a hashing function to generate keys for authentication and encryption of SNMP v3 messages. If you do not specify an engine ID, when you enable the SNMP agent, an engine ID is automatically generated.
esxcli system snmp set --engineid id
Here, id is the engine ID and it must be a hexadecimal string between 5 and 32 characters long.
esxcli system snmp set --engineid 80001ADC05876457531638093177
3- SNMPv3 optionally supports authentication and privacy protocols.
Authentication is used to ensure the identity of users. Privacy allows for encryption of SNMP v3 messages to ensure confidentiality of data. These protocols provide a higher level of security than is available in SNMPv1 and SNMPv2c, which use community strings for security.
Both authentication and privacy are optional. However, you must enable authentication to enable privacy.
esxcli system snmp set --authentication protocol
Here, protocol must be either none(for no authentication), SHA1, or MD5.
esxcli system snmp set --privacy protocol
Here, protocol must be either none(for no privacy) or AES128.
esxcli system snmp set -a SHA1 -x AES128
4- You can configure up to 5 users who can access SNMP v3 information. User names must be no more than 32 characters long.
While configuring a user, you generate authentication and privacy hash values based on the user’s authentication and privacy passwords and the SNMP agent’s engine ID. If you change the engine ID, the authentication protocol, or the privacy protocol after configuring users, the users are no longer valid and must be reconfigured.
esxcli system snmp hash --auth-hashsecret1--priv-hash secret2
esxcli system snmp hash -r -A password1 -X password2Authhash: 08248c6eb8b333e75a29ca0af06b224faa7d22d6
Privhash: 232ba5cbe8c55b8f979455d3c9ca8b48812adb97
5- Configure the user
esxcli system snmp set --user userid/authhash/privhash/security
esxcli system snmp set --usersuser1/08248c6eb8b333e75a29ca0af06b224faa7d22d6/232ba5cbe8c55b8f979455d3c9ca8b48812adb97/priv
Parameter
Description
userid
The user name.
authhash
The authentication hash value.
privhash
The privacy hash value.
security
The level of security enabled for that user, which can be auth (for authentication only), priv (for authentication and privacy), or none (for no authentication or privacy).
6- (Optional) If the ESXi SNMP agent is not enabled, run the following command:
esxcli system snmp set --enable true
7- (Optional) Send a test notification to verify that the agent is configured correctly.
We’ve reviewed and changed the lay-out for ESXi system storage partitions on its boot device. This is done to be more flexible, and to support other VMware, and 3rd party solutions. Prior to vSphere 7, the ESXi system storage lay-out had several limitations. The partition sizes were fixed and the partition numbers were static, limiting partition management. This effectively restricts the support for large modules, debugging functionality and possible third-party components.
That is why we changed the ESXi system storage partition layout. We have increased the boot bank sizes, and consolidated the system partitions and made them expandable. This article details these changes introduced with vSphere 7 and how that reflects on the boot media requirements to run vSphere 7.
The partition sizes in vSphere 6.x are fixed, with an exception for the scratch partition and the optional VMFS datastore. These are created depending on the used boot media and its capacity.
Consolidated Partition Layout in vSphere 7
To overcome the challenges presented by using this configuration, the boot partitions in vSphere 7 are consolidated.
The ESXi 7 System Storage lay-out only consists of four partitions.
System boot
Stores boot loader and EFI modules.
Type: FAT16
Boot-banks (x2)
System space to store ESXi boot modules
Type: FAT16
ESX-OSData
Acts as the unified location to store extra (nonboot) modules, system configuration and state, and system virtual machines
Type: VMFS-L
Should be created on high-endurance storage devices
The OSData partition is divided into two high-level categories of data called ROM-data and RAM-data. Frequently written data, for example, logs, VMFS global traces, vSAN EPD and traces, and live databases are referred to as RAM-data. ROM-data is data written infrequently, for example, VMtools ISOs, configurations, and core dumps.
ESXi 7 System Storage Sizes
Depending the boot media used and if its a fresh installation or upgrade, the capacity used for each partition varies. The only constant here is the system boot partition. If the boot media is larger than 128GB, a VMFS datastore is created automatically to use for storing virtual machine data.
For storage media such as USB or SD devices, the ESX-OSData partition is created on a high-endurance storage device such as an HDD or SSD. When a secondary high-endurance storage device is not available, VMFS-L Locker partition is created on USB or SD devices, but this partition is used only to store ROM-data. RAM-data is stored on a RAM disk.
ESXi 7 System Storage Contents
The sub-systems that require access to the ESXi partitions, access these partitions using the symbolic links. For example: /bootbank and /altbootbank symbolic links are used for accessing the active bootbank and alternative bootbank. The /var/core symbolic link is used to access the core-dumps.
Review the System Storage Lay-out
When examining the partition details in the vSphere Client, you’ll notice the partition lay-out as described in the previous chapters. Use this information to review your boot media capacity and the automatic sizing as configured by the ESXi installer.
A similar view can be found in the CLI of an ESXi host. You’ll notice the partitions being labeled as BOOTBANK1/2 and OSDATA.
You might notice the OSDATA partition being formatted as the Virtual Flash File System (VFFS). When the OSDATA partition is placed on a SDD or NVMe device, VMFS-L is labeled as VFSS.
Boot Media
vSphere supports a wide variety of boot media with a strong recommendation to use high-endurance storage media devices like HDD, SSD and NVMe, or boot from a SAN LUN. To install ESXi 7, these are the recommendations for choosing boot media:
32GB for other boot devices like hard disks, or flash media like SSD or NVMe devices.
A boot device must not be shared between ESXi hosts.
Legacy SD and USB devices are supported with some limitations listed below, more information in this FAQ.
To chose a proper SD or USB boot device, see Knowledge Base article 82515.You must provide an additional VMFS volume of at least 32 GB to store the ESX-OSData volume and required VMFS datastore. If the boot device is larger than 138 GB, the ESXi installer creates a VMFS volume automatically. Delete the VMFS datastore on USB and SD devices immediately after installation to prevent data corruption. For more information how to configure a persistent scratch partition, see Knowledge Base article 1033696.
If the VMware Tools partition is stored locally, you must redirect it to the RAM disk. For more information, see Knowledge Base article 83376.
You must use an SD flash device that is approved by the server vendor for the particular server model on which you want to install ESXi on an SD flash storage device.
Hi, Today i decided to install ESXi 7.0 Update 3. You can find ESXi iso from here. and You can learn more about ESXi from here.
Verify that your system meets the minimum hardware requirements. See ESXi Requirements
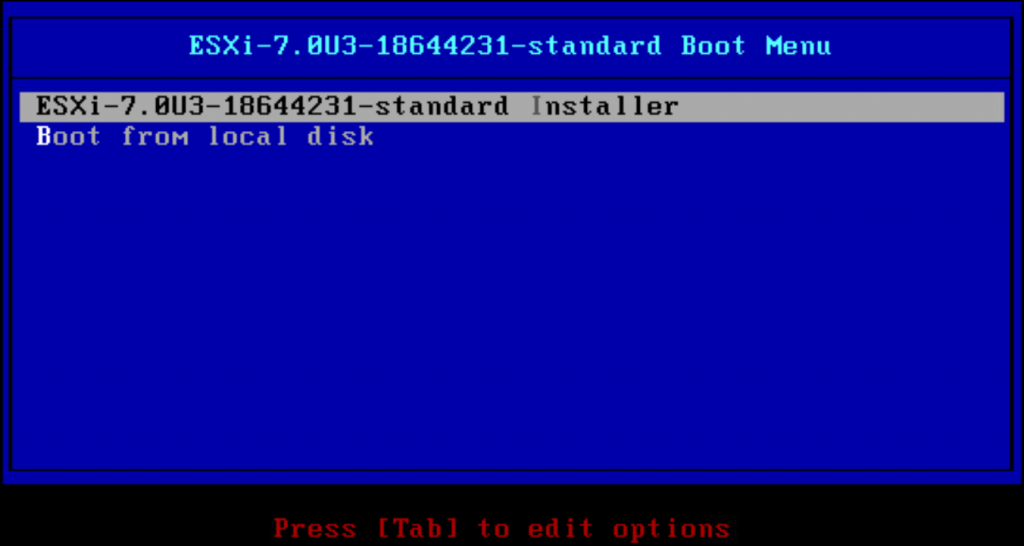
1- Insert iso in to the disk drive and turn server on.
2- I choose ESXi-7.0U3
3- If you want Cancel your installation press Esc or continue press Enter
4- Press F11 for Accept End User License Agreement and Continue
5- Select a Disk to Install ESXi, Then press Enter
6- Select your keyboar layout and then press Enter
7- Enter your root password and then press Enter
8- If you sure about your config, press F11
9- Your installation complete, press Enter for reboot the server
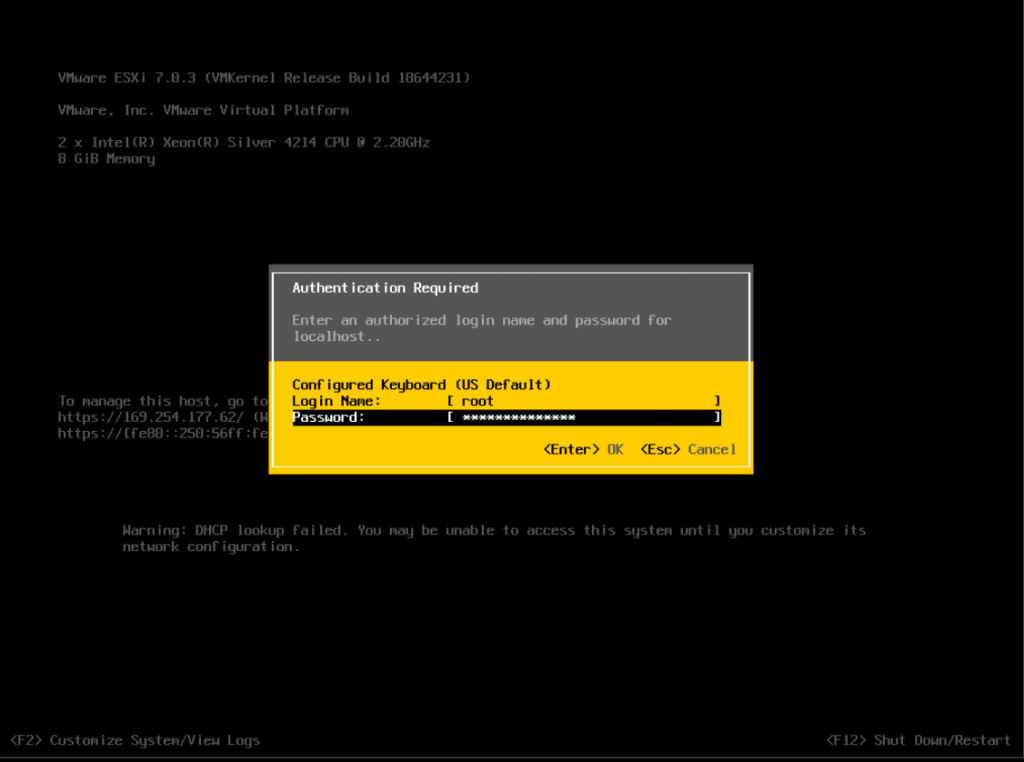
10- After reboot you can see DCUI
11- You can press F2 for login to DCUI, Please enter your root account and your root password
12- In this page you can configure new password, Management Network, enbale or disbale shell or ssh and other configs.
13- I configure IP address for my ESXi server, I choose Configure Management Network and press Enter, Then I choose IPv4 Configuration, You can set IP address manual or use dynamic IPv4 address.
14- If you want to konw your Ip address is correct, You use Test Management Network .