Install vCloud Director 10.X Step by Step 06

Hi, Today, I want to create an organization and organization VDC in the vCloud Director.

An Organization is the fundamental vCloud Director grouping that contains users, the vApps that they create, and the resources the vApps use. It is a top-level container in a cloud that contains one or more Organization Virtual Data Centers (Org VDCs) and Catalog entities. It owns all the virtual resources for a cloud instance and can have many Org VDCs.

An organization can be internal to your company providing the vCloud Director or to a customer organization that is using your Cloud Director.

Let’s start.

Step 1, I create an organization.

1- Log in to https://vCloud_IP/provider –> Resources –> Cloud Resources –> Organizations –> Click NEW

2- Enter a name and a full name for your organization.

3- You can log in to your Organization portal :

https://vCloud_IP/tenant/Customer1-org

Step 2, I create an Organization VDCs:

1- Log in to https://vCloud_IP/provider –> Resources –> Cloud Resources –> Organizations VFCs –> Click NEW

2-Enter a Name and Select Enable the Organization VDC

3- Select the Organization that you would like to add this VDC

4- Select the Provider VDC

5- Select an allocation Model for this Organization VDC, I choose Pay-As-You-Go

OptionDescription
Allocation poolA percentage of the resources you allocate from the provider VDC are committed to the organization VDC. You can specify the percentage for both CPU and memory.
Pay-as-you-goResources are committed only when users create vApps in the organization VDC.
Reservation poolAll the resources you allocate are immediately committed to the organization VDC.
FlexYou can control the resource consumption at both the VDC and the individual virtual machine levels. The flex allocation model supports the capabilities of organization VDC compute policies. The flex allocation model supports all allocation configurations that are available in the other allocation models.

6- Configure the allocation settings


OptionDescription
CPU QuotaThe maximum amount of CPU consumption for this organization VDC.
CPU resources guaranteedThe percentage of CPU resources that you want to guarantee to a virtual machine running in this organization VDC. You can control the over-commitment of CPU resources by guaranteeing less than 100 percent. For an Allocation Pool allocation model, the percentage guarantee also determines what percentage of the CPU allocation is committed to this organization VDC.
vCPU SpeedThe vCPU speed. Virtual machines running in the organization VDC are assigned this amount of GHz per vCPU.
Memory QuotaThe maximum amount of memory consumption for this organization VDC.
Memory resources guaranteedThe percentage of memory resources that you want to guarantee to virtual machines running in the organization VDC. You can over-commit resources by guaranteeing less than 100 percent. For an Allocation Pool allocation model, the percentage guarantee also determines what percentage of the memory allocation is committed to this organization VDC.
Maximum number of VMsThe maximum number of virtual machines that can exist in the organization VDC.

7- Configure the storage settings for this organization VDC

Allocation Type: To limit the amount of the allocated storage capacity for a selected storage policy.

Default instantiation policy: To change the default storage policy.

Thin provisioning: To activate thin provisioning for virtual machines in the organization VDC.

Fast provisioning: To deactivate fast provisioning for virtual machines in the organization VDC.

8- Configure the Network Pool for this organization VDC

You can skip this level at this stage.

Note:

Organization VDCs that are backed by NSX-T Data Center only support Geneve network pools.

9- Click Next.

Finish 🙂
Install vCloud Director 10.4 Step by Step 05

Hi, Today, I want to create a Provider VCD in the vCloud Director.

What is a provider VCD?

The provider VDC is an abstraction of a vSphere cluster or a resource pool.

A provider virtual data center (VDC) provides resources to a provider.

To make vSphere compute, memory, and storage resources available to vCloud Director, you create a provider VDC.

For network resources, a provider VDC can use NSX-T Data Center.

Note:

• Creating a provider VDC is a system administrator task.
• The provider VDC can be created only from the provider portal.
• Provider VDCs are linked to vCenter Server clusters or resource pools.

Prerequisite:

Create a resource pool in your vCenter server.

Let’s start.

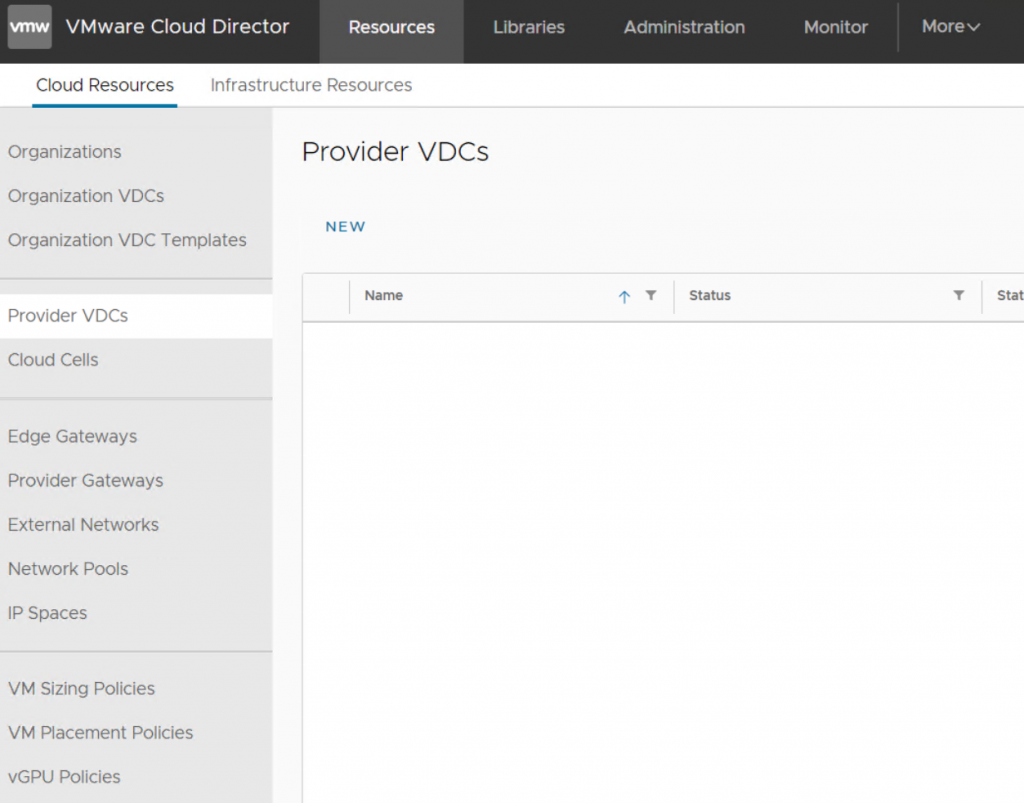
1-Log into https://vCloud_IP/provider –> Resources –>Provider VDCs –> NEW

Khoshraftar.com

2- Enter a name and description for the new provider VCD.

3- Select a vCenter server to provide resource pools for this provider VDC.

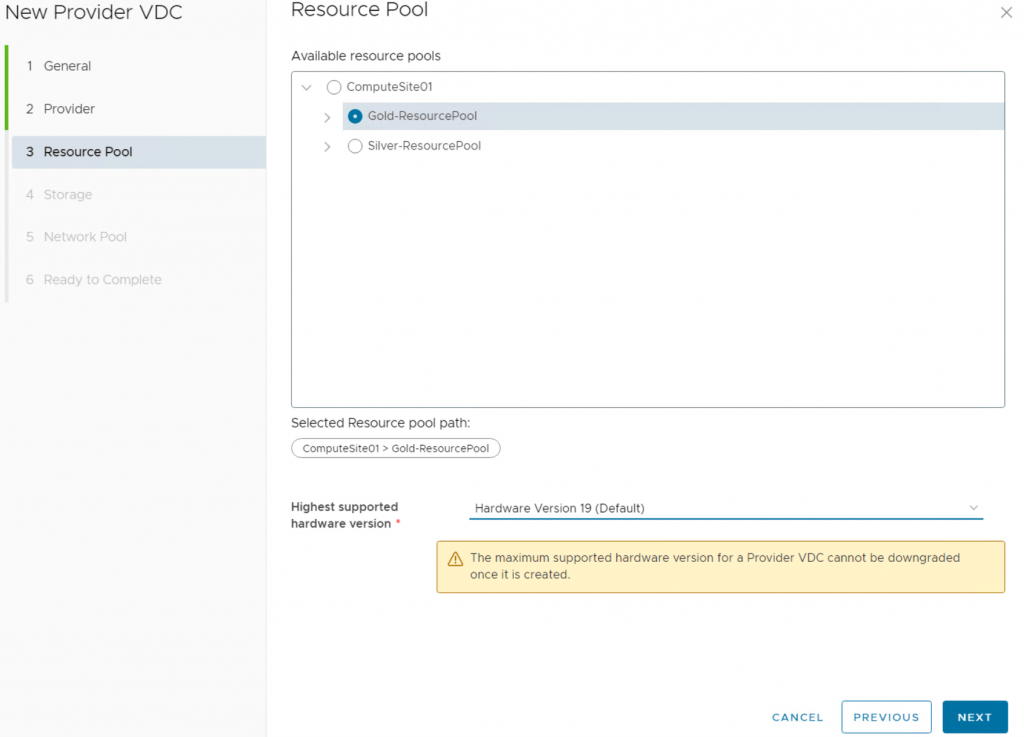
4- Select the available resource pool that you created before in the vCenter server.

5- Select storage policies this provider VDC will offer.

Khoshraftar.com

6- Choose a network pool option for creating this provider VDC.

Khoshraftar.com

7- Review and click on the finish button.

Khoshraftar.com

Finish 🙂

Install vCloud Director 10.4 Step by Step 04

Hi, Today, I want to create a Network Pool in the vCloud Director.

What is a Network Pool?

A network pool is a collection of isolated layer-2 network segments that you can use to create vApp networks and certain types of organization VDC networks on demand.

Network pools must be created before organization VDC networks and vApp networks. If they do not exist, the only network option available to an organization is a direct connection to an external network.

Only a system administrator can create a network pool.

Supported by:

  • Port Groups Backed
  • VLAN ID Backed
  • Geneve Backed (NSX-T Overlay Transport Zone)
  • VXLAN Backed (NSX-V)

Note:

  • Each organization VDC can have one Network Pool
  • Multiple organization VDCs can share a Network Pool
  • With VCD 10.3, You can create a provider VDC without any Network Pools.

Let’s start.

1-Log into https://vCloud_IP/provider –> Resources –>Network Pools –> NEW

2- Enter a name and description for the new network pool.

3- Select Network Pool Type Geneve Backed

4- Select NSX-T Manager to provide the Geneve transport zone that this network pool will use.

5- Select your Transport Zone that you have created before in NSX-T console.

6- Next

Finish 🙂

Install vCloud Director 10.4 Step by Step 03

Hi, Today, I want to add the NSX-T to vCloud Director.

Let’s start.

1-Log into https://vCloud_IP/provider –> Resources –> Infrastructure Resources –> NSX-T –> NSX-T Managers –> ADD

vCloud-khoshraftar-01

2-Enter NSX-T information

Note: NSX-T URL must be exactly like the name on its certificate.

vCloud-khoshraftar-02

3-It’s done.

vCloud-khoshraftar-03

Finish 🙂

Install vCloud Director 10.4 Step by Step 02

Hi, Today, I want to add the vCenter server to vCloud Director.

Let’s start.

1-Log into https://vCloud_IP/provider –> Resources –> Infrastructure Resources –> vCenter Server Instances –> Click ADD

vCloud-khoshraftar-01

2-Enter the connection information for the new vCenter server –> Next

vCloud-khoshraftar-02

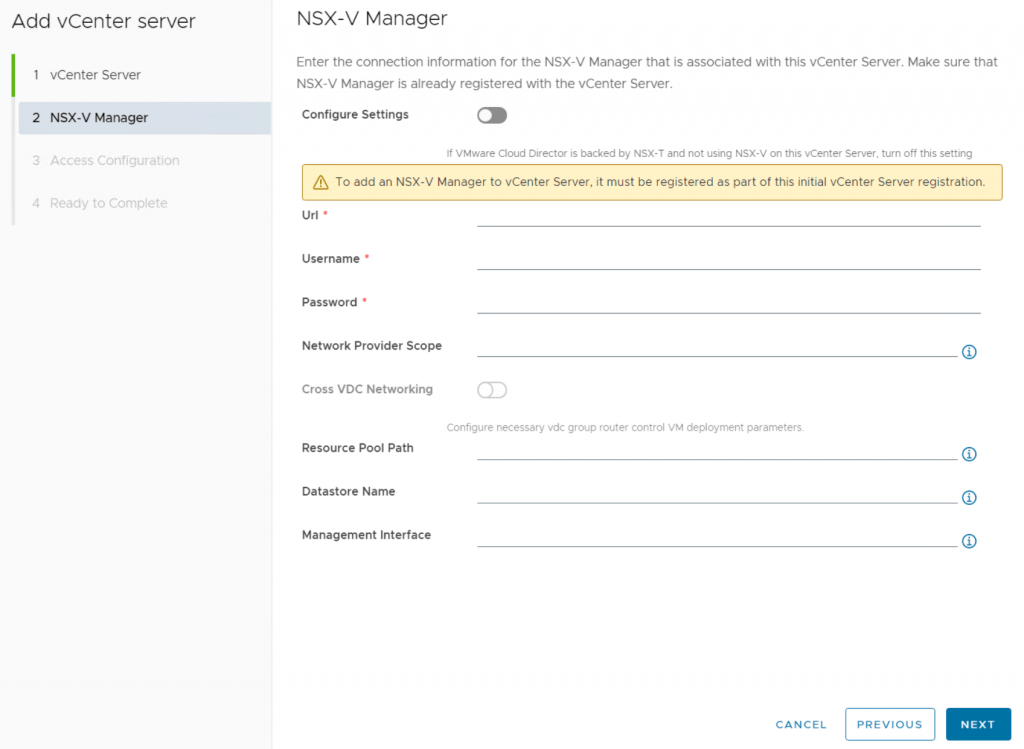
3-I don’t use NSX-V Manager, I use NSX-T, Next

vCloud-khoshraftar-03

4-Access Configuration

  • -If you want to add a tenant-dedicated vCenter Server that will not be used as a provider VDC, turn on the Enable tenant access toggle.
  • After you add the vCenter Server instance to VMware Cloud Director, the tenant-related information appears in the details view of the instance.
  • – If you want VMware Cloud Director to generate default proxies for the vCenter Server instance and SSO services, turn on the Generate proxies toggle.
  • After you add the vCenter Server instance to VMware Cloud Director, the proxies appear in the Proxies tab under vSphere Resources.
vCloud-khoshraftar-04

5-It’s Ready

vCloud-khoshraftar-05
vCloud-khoshraftar-06

Finish 🙂

Install vCloud Director 10.4 Step by Step 01

Estimated reading time: 4 minutes

Hi, Today I decided to install vCloud Director 10.4.  

What is vCloud Director?

VMware vCloud Director (VMware vCD) is a platform with multi-tenant support for managing software-defined data centers (SDDC) and providing infrastructure as a service (IaaS) to customers.

You can download it from here

Prerequisite:

1- Make A record and reverse record for your vCloud Director.

2- NFS folder with full access permissions for the transfer file location

vCloud Director Install steps:

1- Select OVF, Enter a name, and select a compute resource for your virtual machine:

2- accept all license agreements, Then:

3-Select your deployment configuration, Then:

4- Select your DataStore, Then:

5-Select networks, Then:

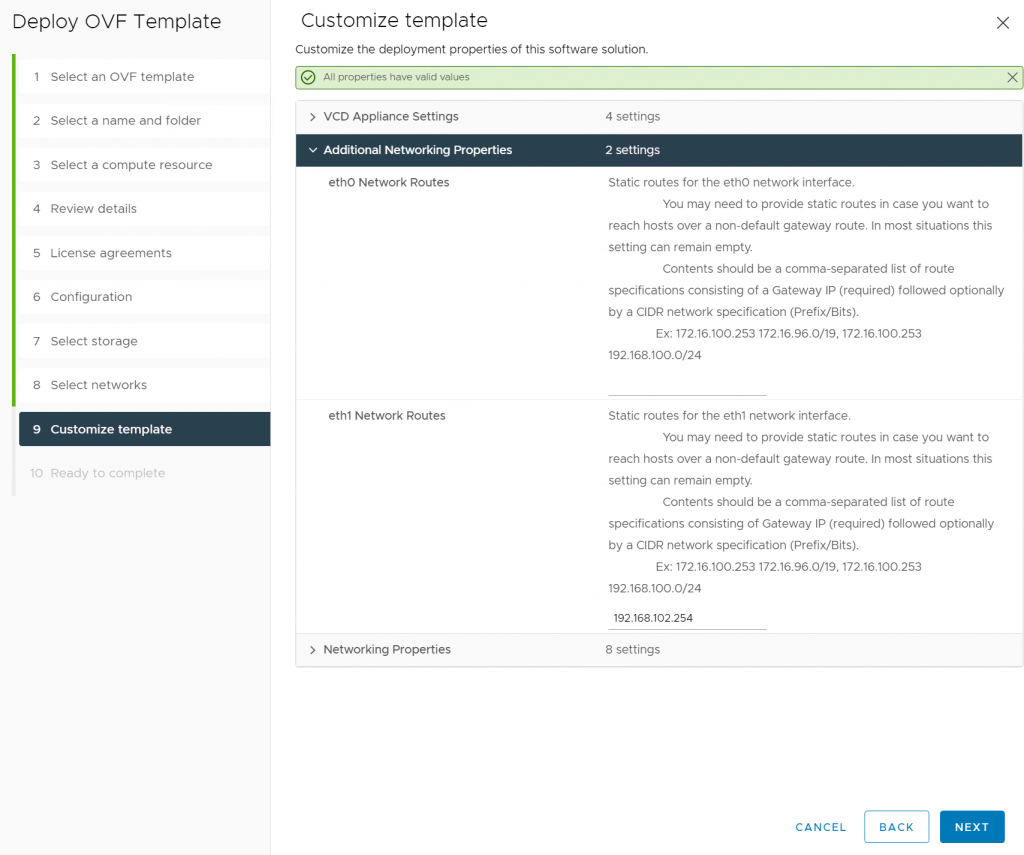
Starting with version 9.7, the VMware Cloud Director appliance is deployed with two networks, eth0, and eth1, so that you can isolate the HTTP traffic from the database traffic. Different services listen to one or both of the corresponding network interfaces.

HTTP traffic and console traffic use eth0. The internal database traffic uses eth1.
Note: The eth0 and eth1 networks must be placed on separate subnets.


Service Port-on-eth0 Port-on-eth1
SSH 22 22
HTTP 80 n/a
HTTPS 443 n/a
PostgreSQL n/a 5432
Management UI 5480 5480
Console proxy 8443 n/a
JMX 8998, 8999 n/a
JMS/ActiveMQ 61616 n/a

5-Enter NTP, root password, and Enable SSH root login, Then:

6-Enter your gateway for eth1, Then:

7-Enter Default gateway, Domain name, and other parameters, Then:

8- Review your settings and Finally click on the Finish button

9-Congratulation 🙂

10-Please open https://vCloud-IP-or-Name:5480, Then:

Enter NFS mount for the transfer file location:

“IP NFS Server”:/“Your mount Folder”

Enter a password for the vCloud user for DB access, Then:

Enter a system name for creating a folder in VMware vCenter Server, Then:

If you want to log in to the provider, please use: https://vCloud-IP-or-Name/provider

Finish 🙂

My Latest Posts: