Step by Step Enable vSAN 7.0 FileService

Hi, Today i decided enable vSAN 7.0 File Service.

vSAN file service allows a vSphere admin to provision a file share from their vSAN cluster. The file share can be accessed using NFS or SMB.

1- Click on your Cluster –> Configure TAB  –>  vSAN –> Services –> File service –> Enable

2- Checklist

The following information is needed to configure file service.

  • Static IP address, subnet masks and gateway for file servers
  • DNS name for each IP address or allow the system to do a reverse DNS lookup.

For SMB share and NFS share with Kerberos Security, the following information is needed.

  • AD domain, organizational unit (optional), and a user account with sufficient delegated permissions.

I configure DNS name for each IP address

3- You can download manually or automatically File service agent, i downlload it and Manually import it. Click Browse

Select your files and Next.

4- Enter your Domain informations.

5- Enter your Networking information.

It is important configure Security setting before add it to File Service.

Go to Ntework Tab –> Select your port group or create new port group –> Advanced –> Custumize default polices configuration

Promiscuous mode and Forged transmits –> Accept

6- Choose your distributed port group name and location

7- Enter your ips and DNS names

8- Click on Finish button

Finish 🙂
Step by Step Enable vSAN 7.0 Manually

Hi, Today i decided to enable manually vSAN 7.0 on vCenter 7.0 u3.

You can find more information about vSAN prerequisite from this page.

1- Before enable vSAN, We need to configure VMKernel adapters.

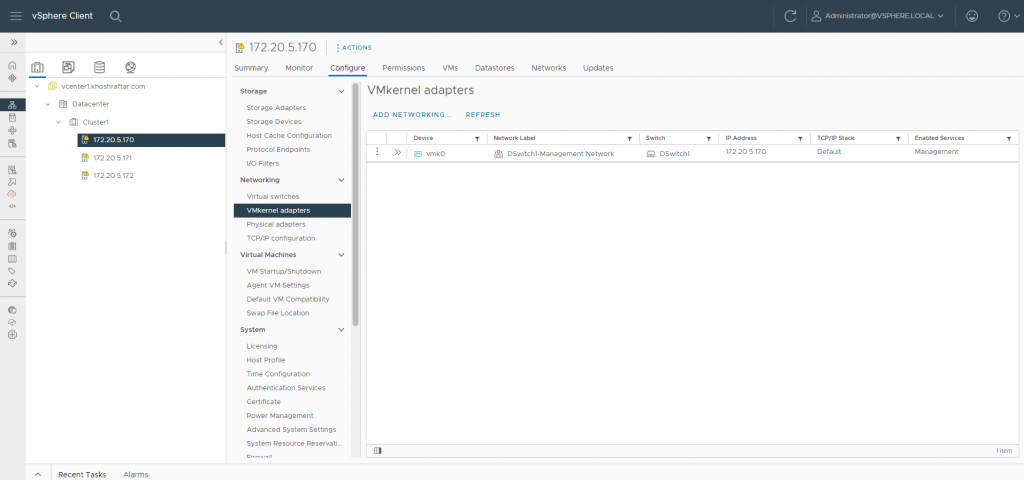
Login to your vCenter –> Select one host –> Configure Tab –> Under Networking select VMKernel adapters –> Select your VMKernel adaptor (vmk0 is my VMKernel) an click on Edit Setting

You must do this procedure for all your hosts.

Select vSAN then click on OK button.

2- Click on your vSAN Cluster, And select Configure Tab, Under Configure Tab select vSAN — > Services.

Click on CONFIGURE VSAN button to open the Configure vSAN wizard.

  • 3- Select the type of vSAN cluster to configure, and click Next.
    • Single site cluster.
    • Single site cluster with custom fault domains.
    • Two node vSAN cluster.
    • Stretched cluster.
    • vSAN HCI Mesh compute (Sharing Remote Datastores with HCI Mesh).

4- Configure the vSAN services to use, and click Next.

You can Configure data management features, including deduplication and compression, data-at-rest encryption, and data-in-transit encryption.

5- Claim disks for the vSAN cluster, and click Next.

Each host requires at least one flash device in the cache tier, and one or more devices in the capacity tier.

6- Review the configuration, and click Finish.

Finish 🙂